> ## Documentation Index
> Fetch the complete documentation index at: https://bruno-a6972042-mintlify-c74cb75a.mintlify.site/llms.txt
> Use this file to discover all available pages before exploring further.
# How to Add a Secret Provider
You have the option to integrate [HashiCorp Cloud Vault ↗](https://developer.hashicorp.com/hcp), [Vault Enterprise Server ↗](https://developer.hashicorp.com/vault/docs/enterprise), or a [Local Vault server ↗](https://developer.hashicorp.com/vault/docs/install) as your secret provider.
## Setting Up Vault Server
To configure a **Vault server** secret provider, you can opt for either **Token** or **AppRole** authentication.
1. Go to the application settings located at the bottom of the left sidebar and navigate to the **Secrets Manager** section.
2. Click on the `+ Add Secret Provider` button.
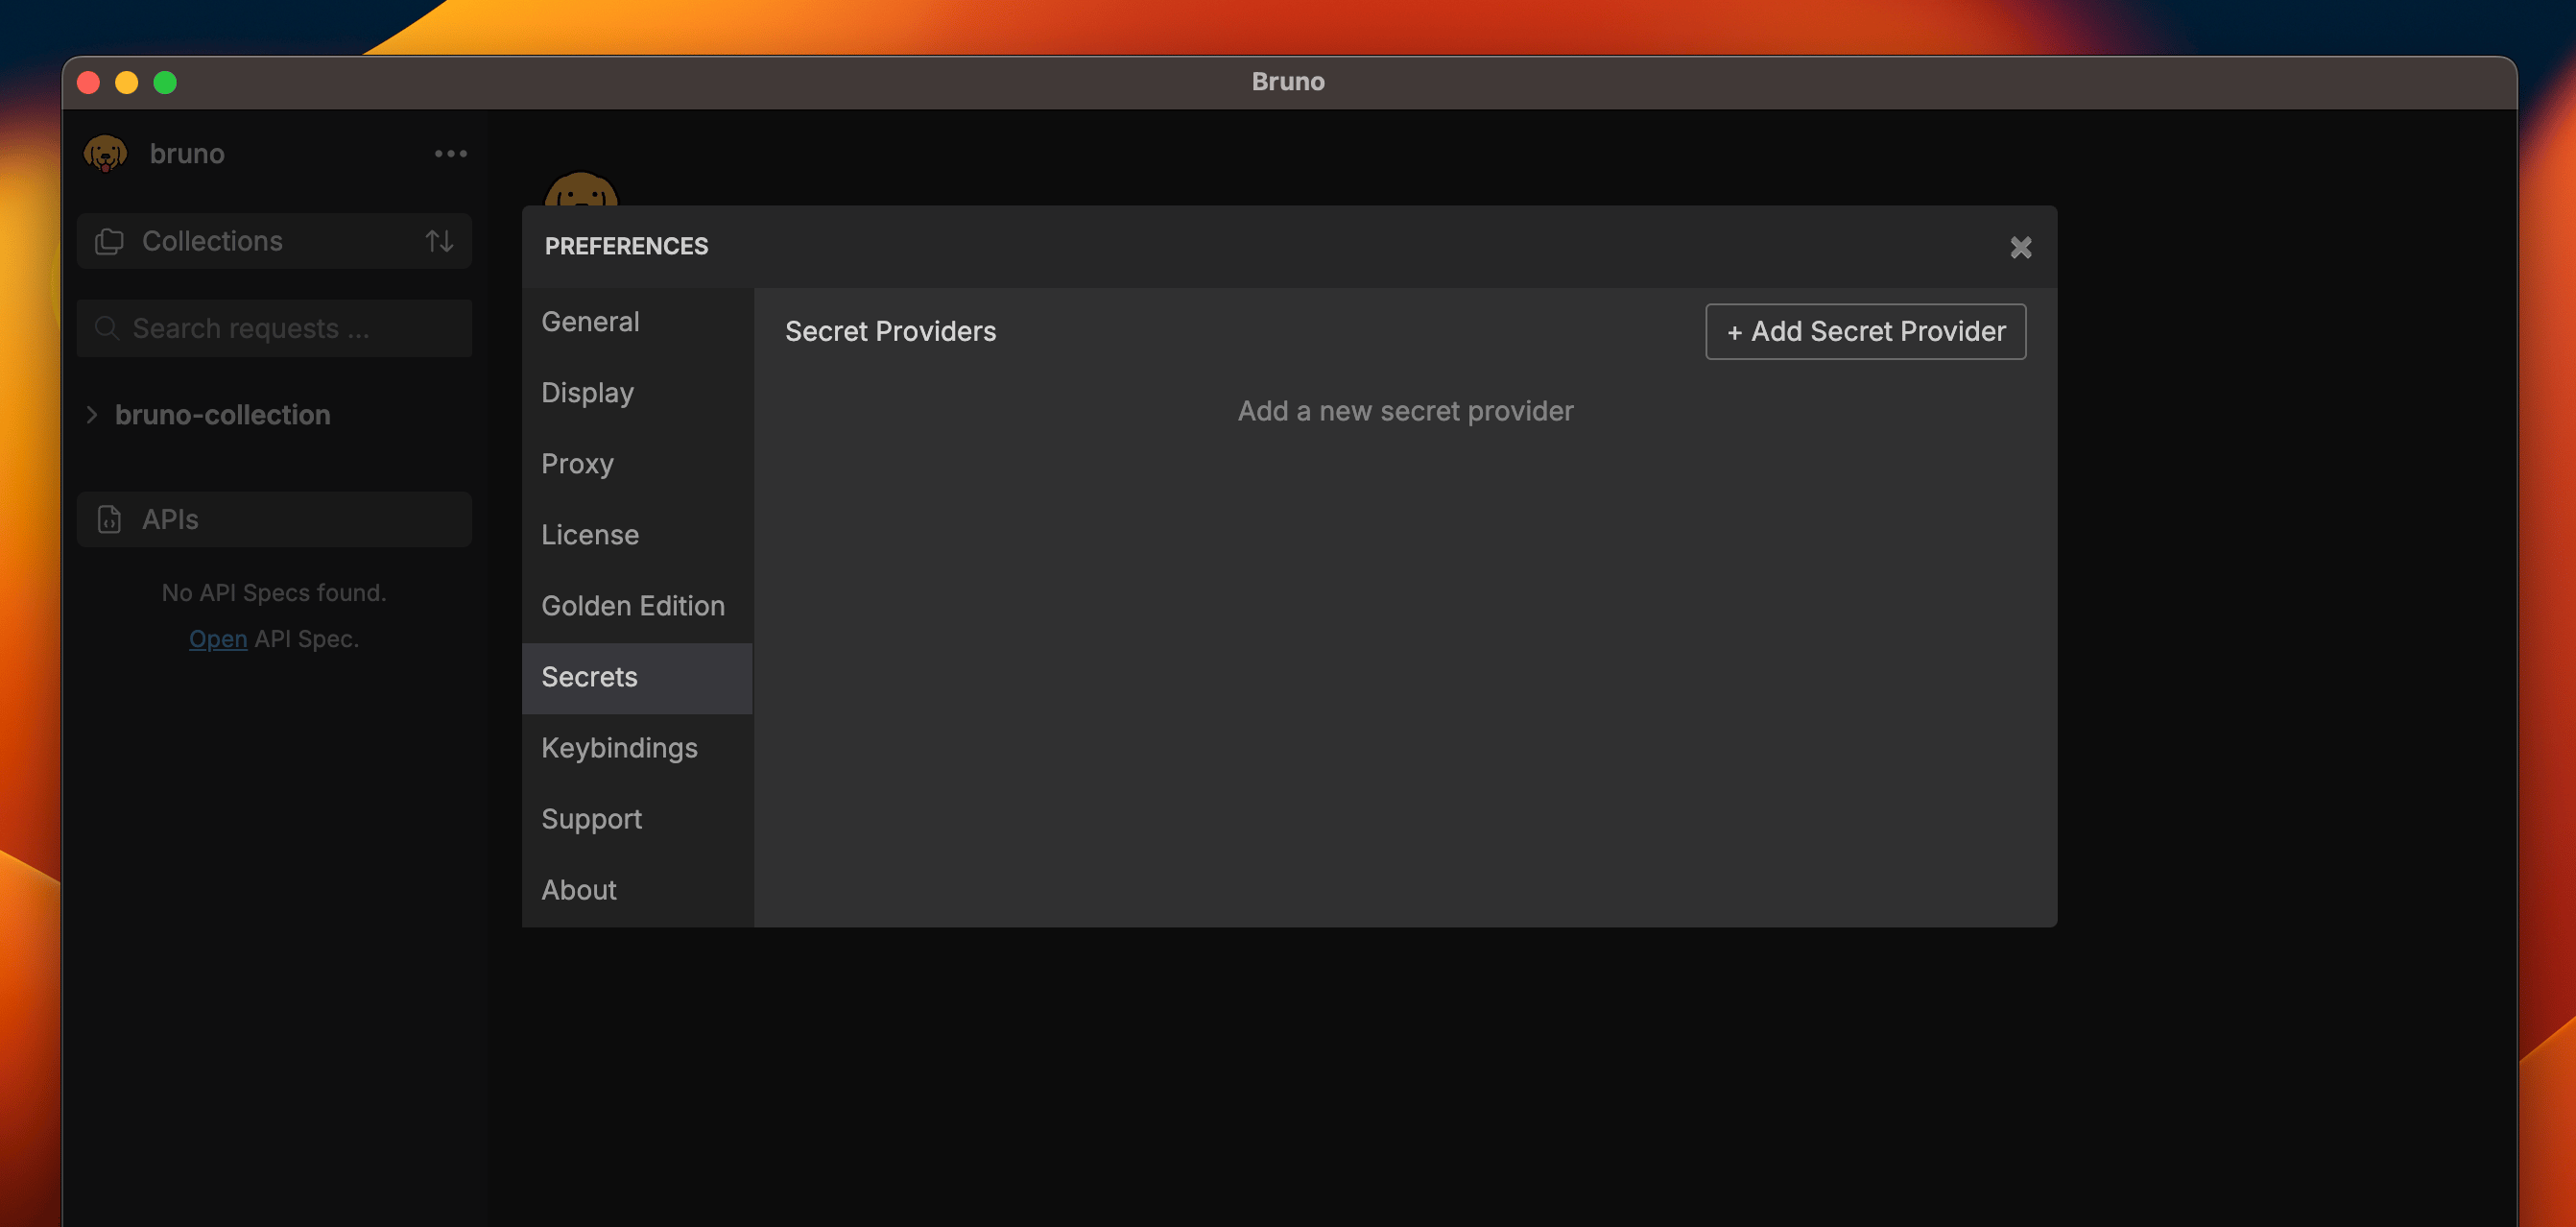 3. Choose **Vault Server** as the provider type and select your preferred authentication method.
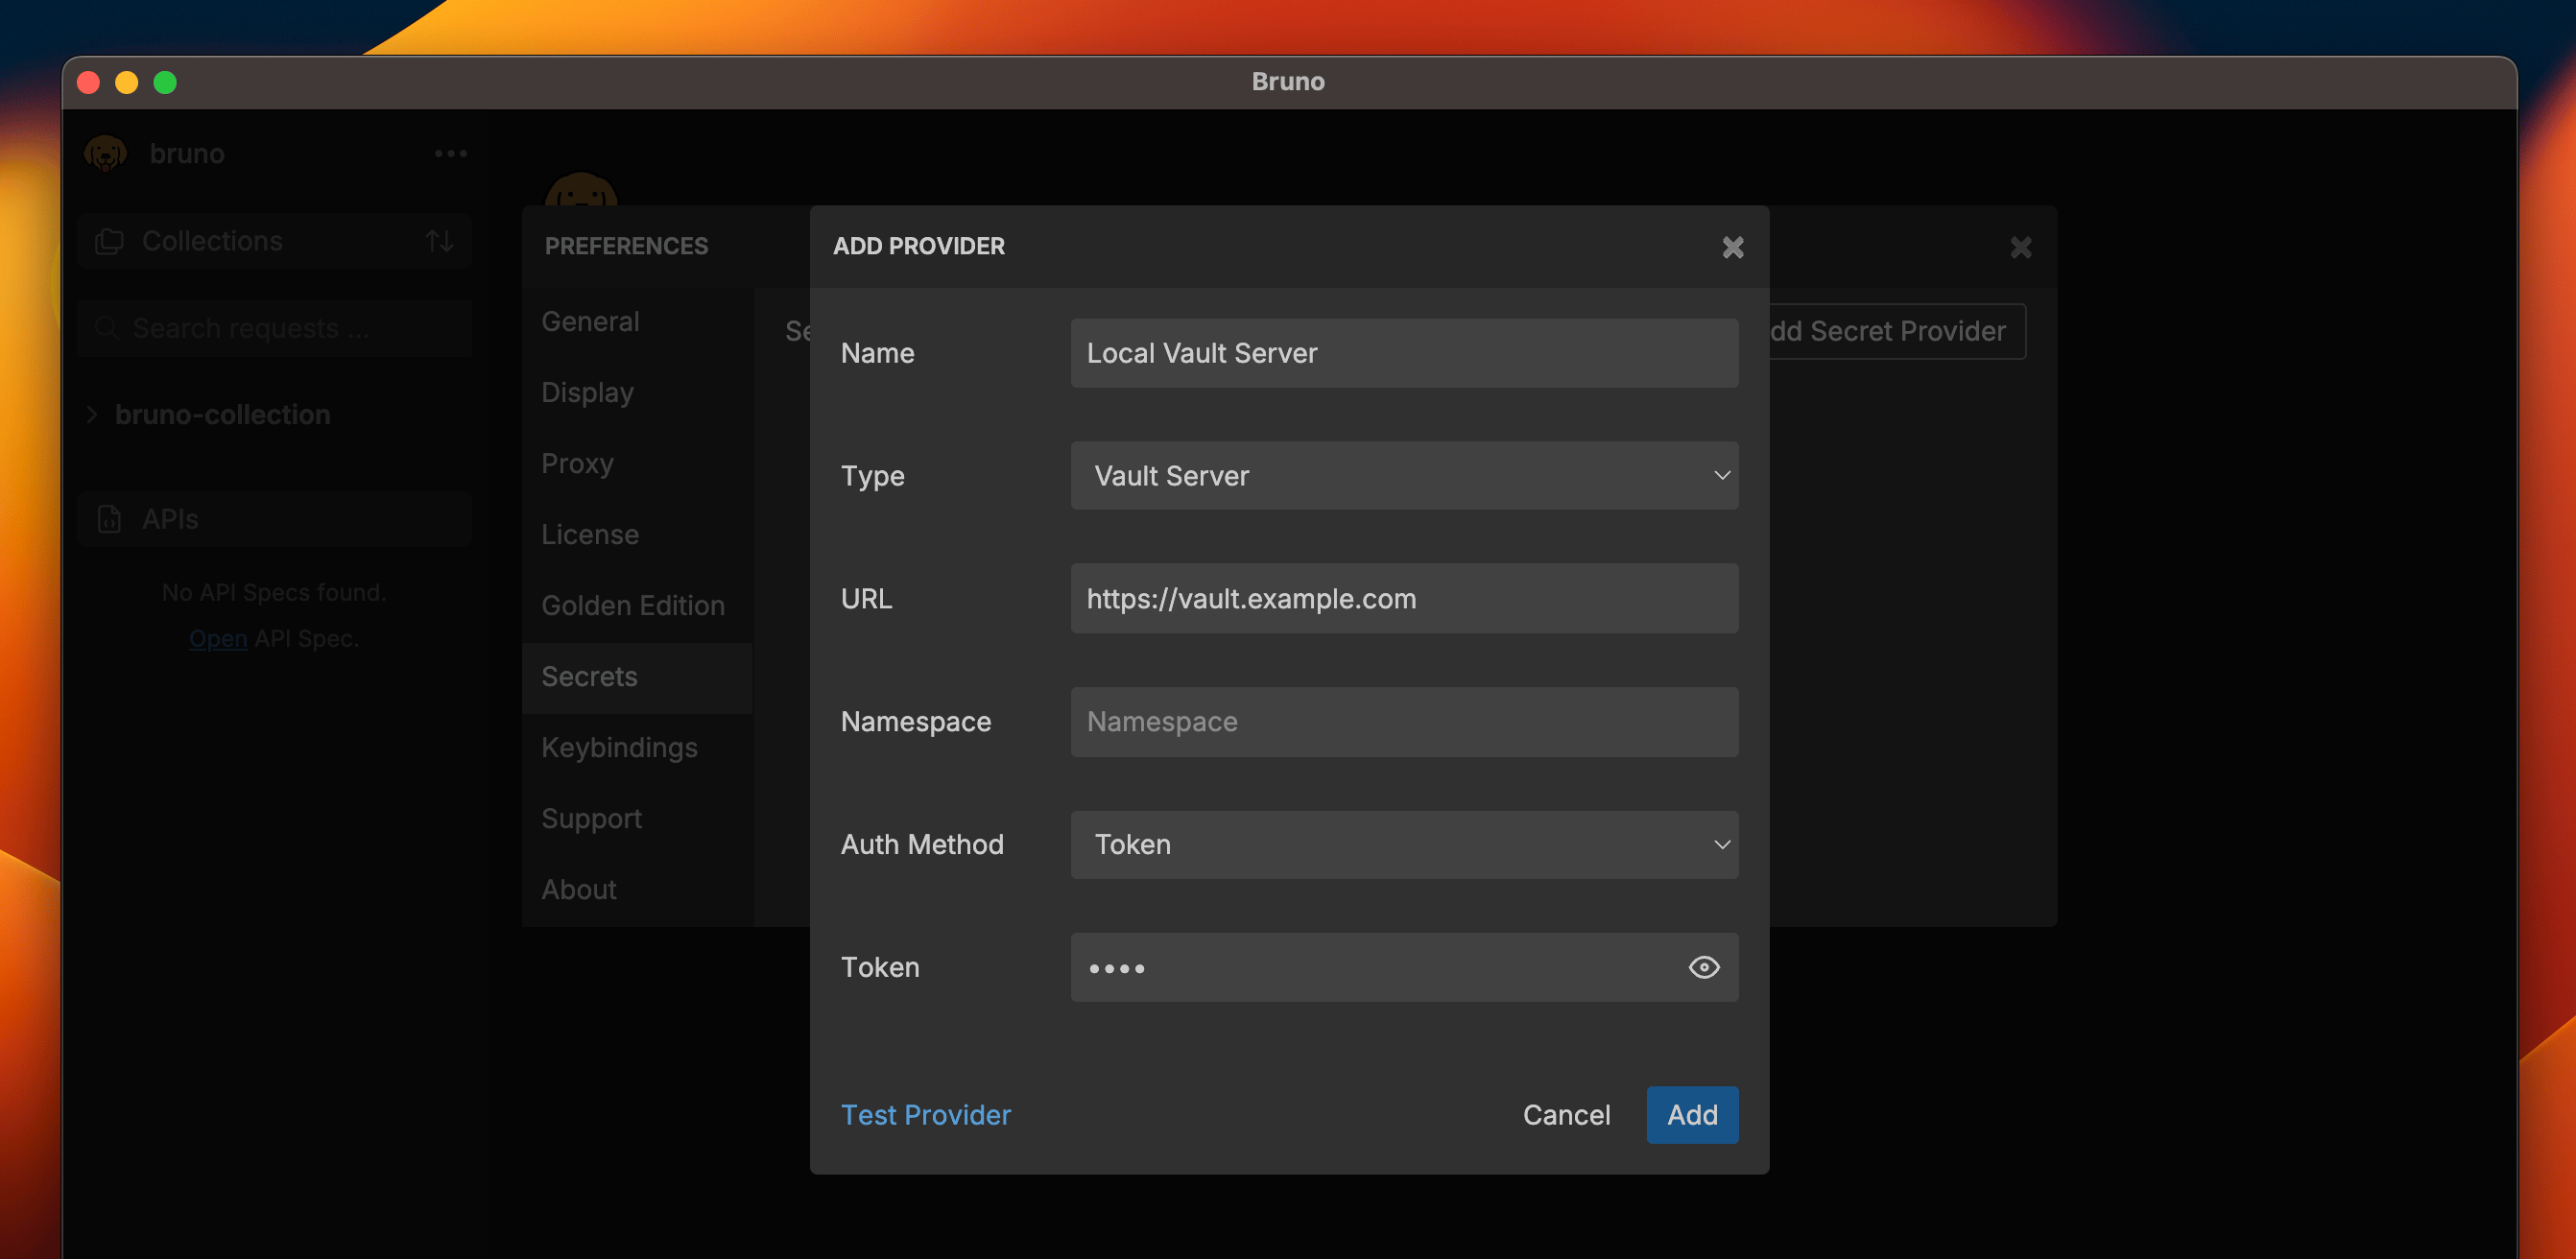 4. Enter `http://localhost:8200` if using a local server, or the URL of the hosted server (e.g., `https://vault.example.com`).
5. Provide the necessary [Token ↗](https://developer.hashicorp.com/vault/docs/commands/token) or [AppRole ↗](https://developer.hashicorp.com/vault/tutorials/auth-methods/approle) credentials.
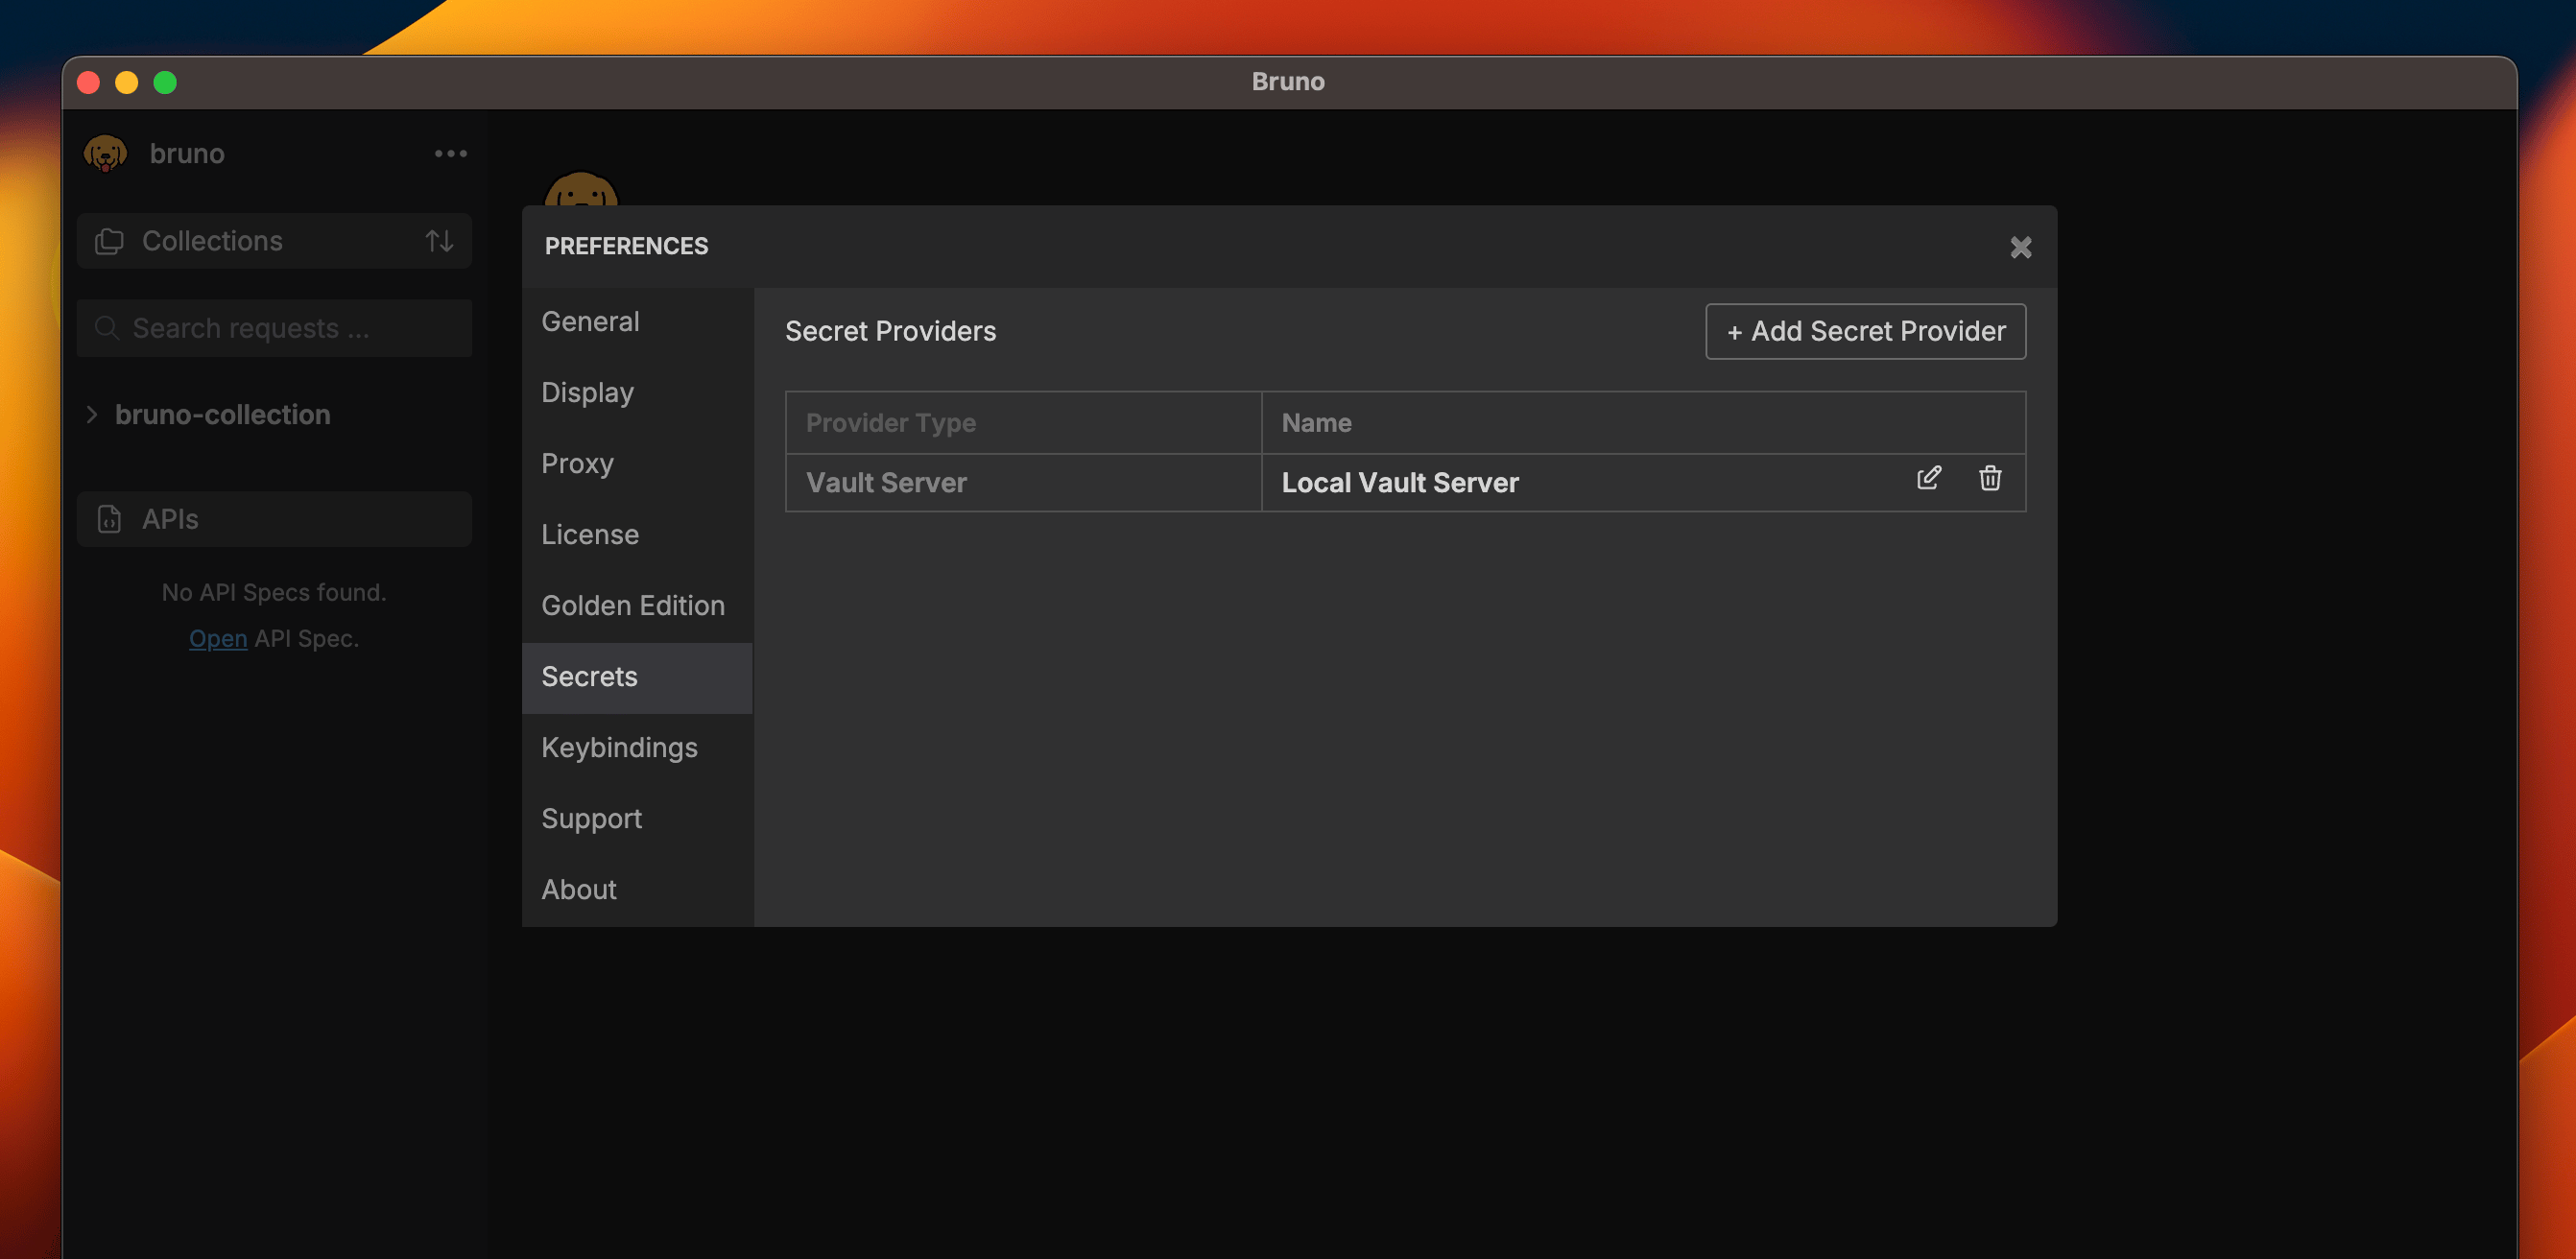
6. Click on **Add** to save the secret provider.
4. Enter `http://localhost:8200` if using a local server, or the URL of the hosted server (e.g., `https://vault.example.com`).
5. Provide the necessary [Token ↗](https://developer.hashicorp.com/vault/docs/commands/token) or [AppRole ↗](https://developer.hashicorp.com/vault/tutorials/auth-methods/approle) credentials.
6. Click on **Add** to save the secret provider.
 ## Setting up Vault Cloud
To set up a **Vault Cloud** secret provider, follow these steps:
1. Go to the application settings located at the bottom of the left sidebar and navigate to the **Secrets Manager** section.
2. Click on the `+ Add Secret Provider` button.
3. Select **Vault Cloud** as the provider type.
## Setting up Vault Cloud
To set up a **Vault Cloud** secret provider, follow these steps:
1. Go to the application settings located at the bottom of the left sidebar and navigate to the **Secrets Manager** section.
2. Click on the `+ Add Secret Provider` button.
3. Select **Vault Cloud** as the provider type.
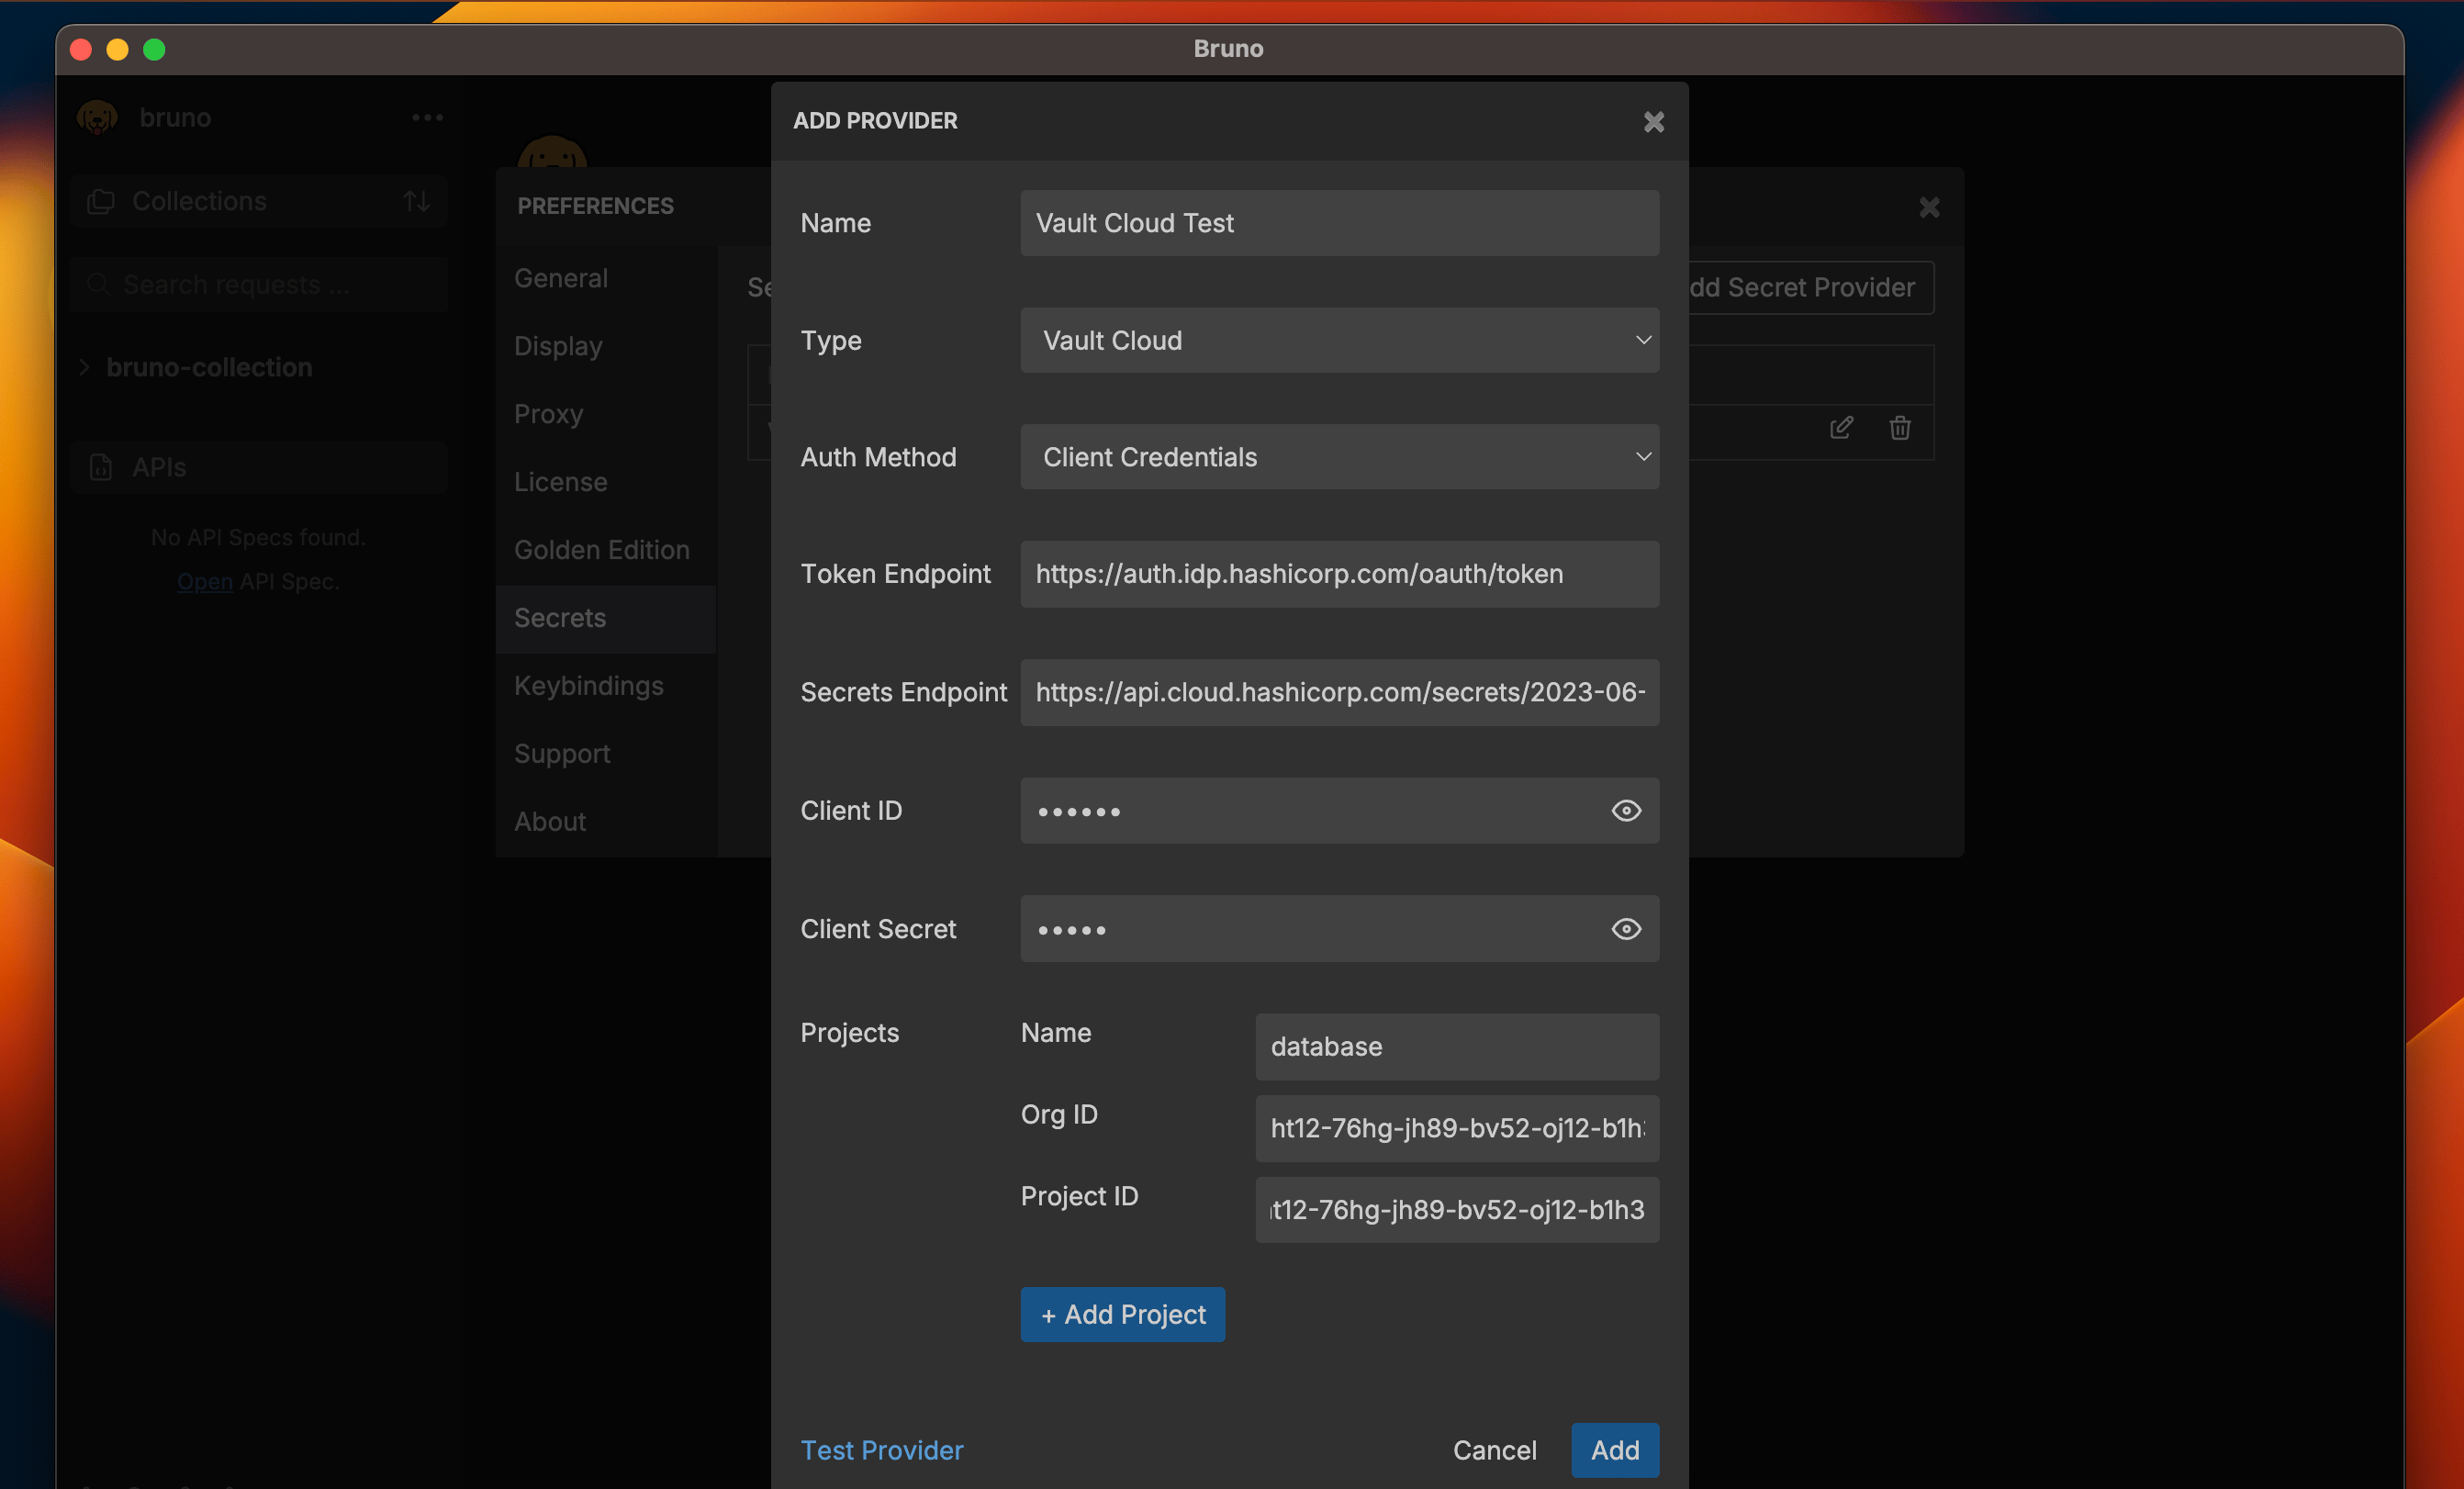 4. Maintain the default settings for `Token Endpoint` and `Secrets Endpoint`, or modify them if necessary.
5. Provide the required [Client Credentials ↗](https://developer.hashicorp.com/hcp/docs/hcp/admin/iam/service-principals).
6. Add one or more Projects (Apps) to the secret provider.
7. Click on **Add** to save the secret provider.
4. Maintain the default settings for `Token Endpoint` and `Secrets Endpoint`, or modify them if necessary.
5. Provide the required [Client Credentials ↗](https://developer.hashicorp.com/hcp/docs/hcp/admin/iam/service-principals).
6. Add one or more Projects (Apps) to the secret provider.
7. Click on **Add** to save the secret provider.